Bumper/Window Sticker Design
Sticker
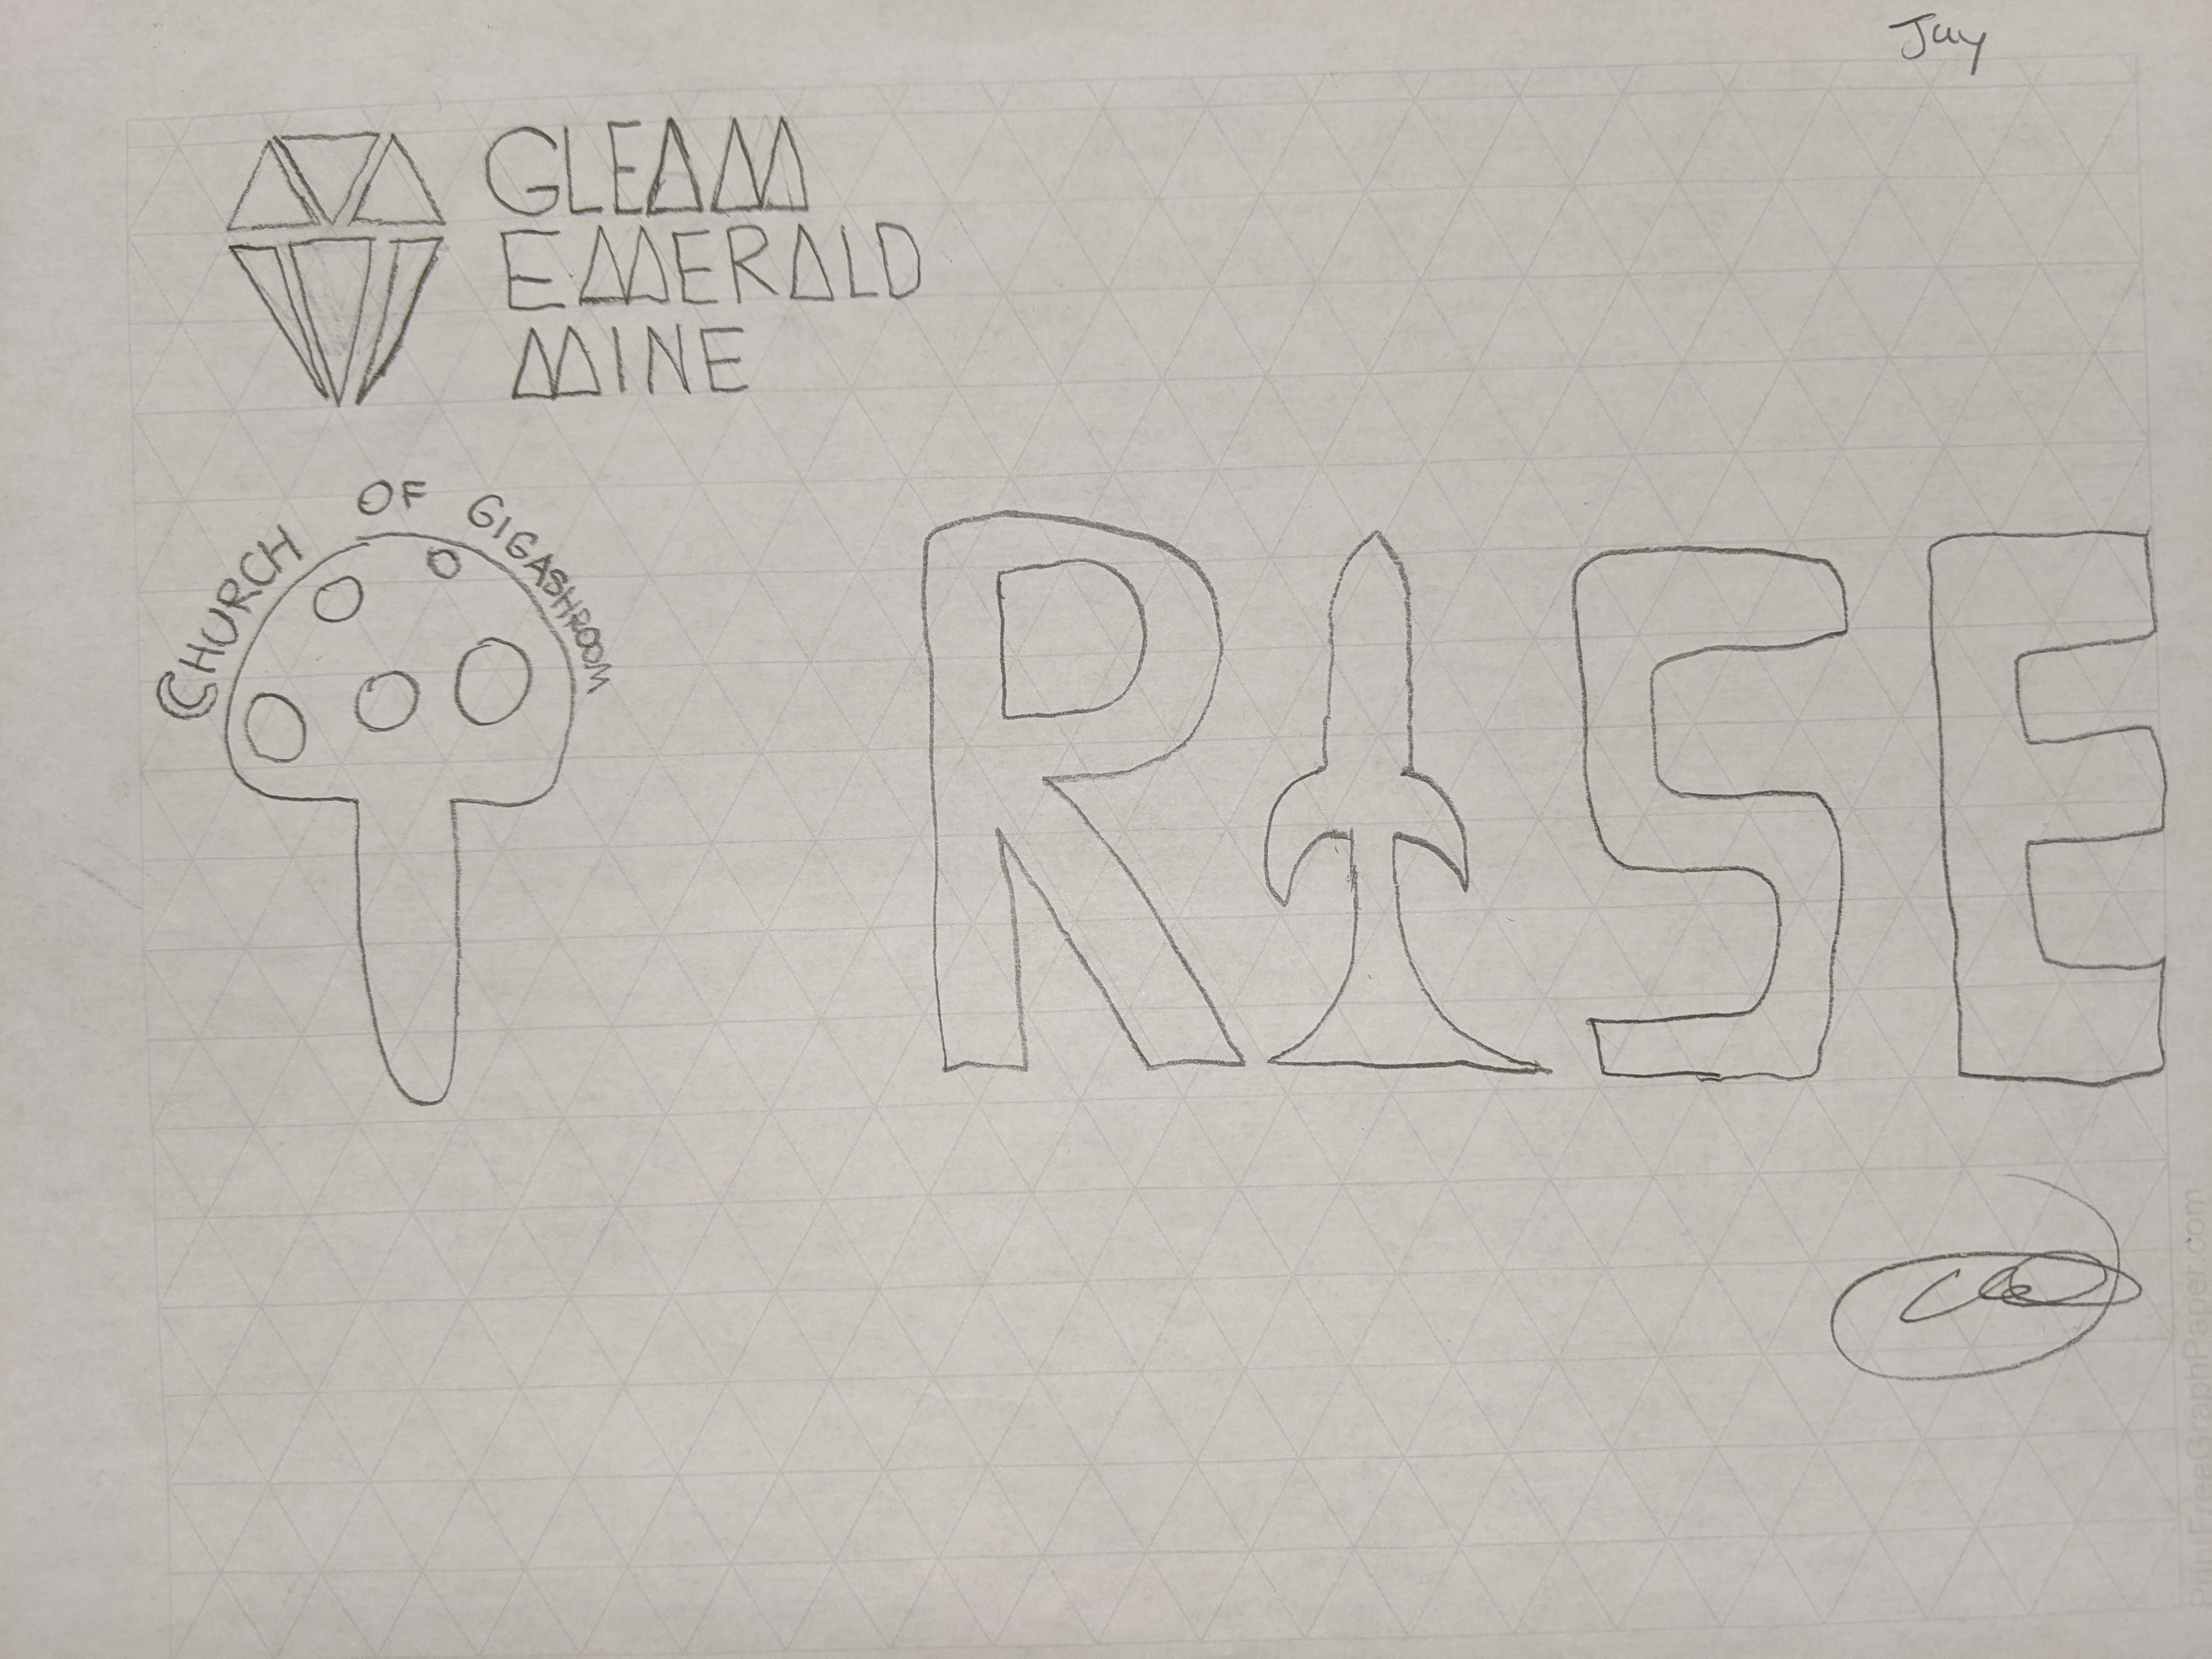
Sketches

Brainstorming
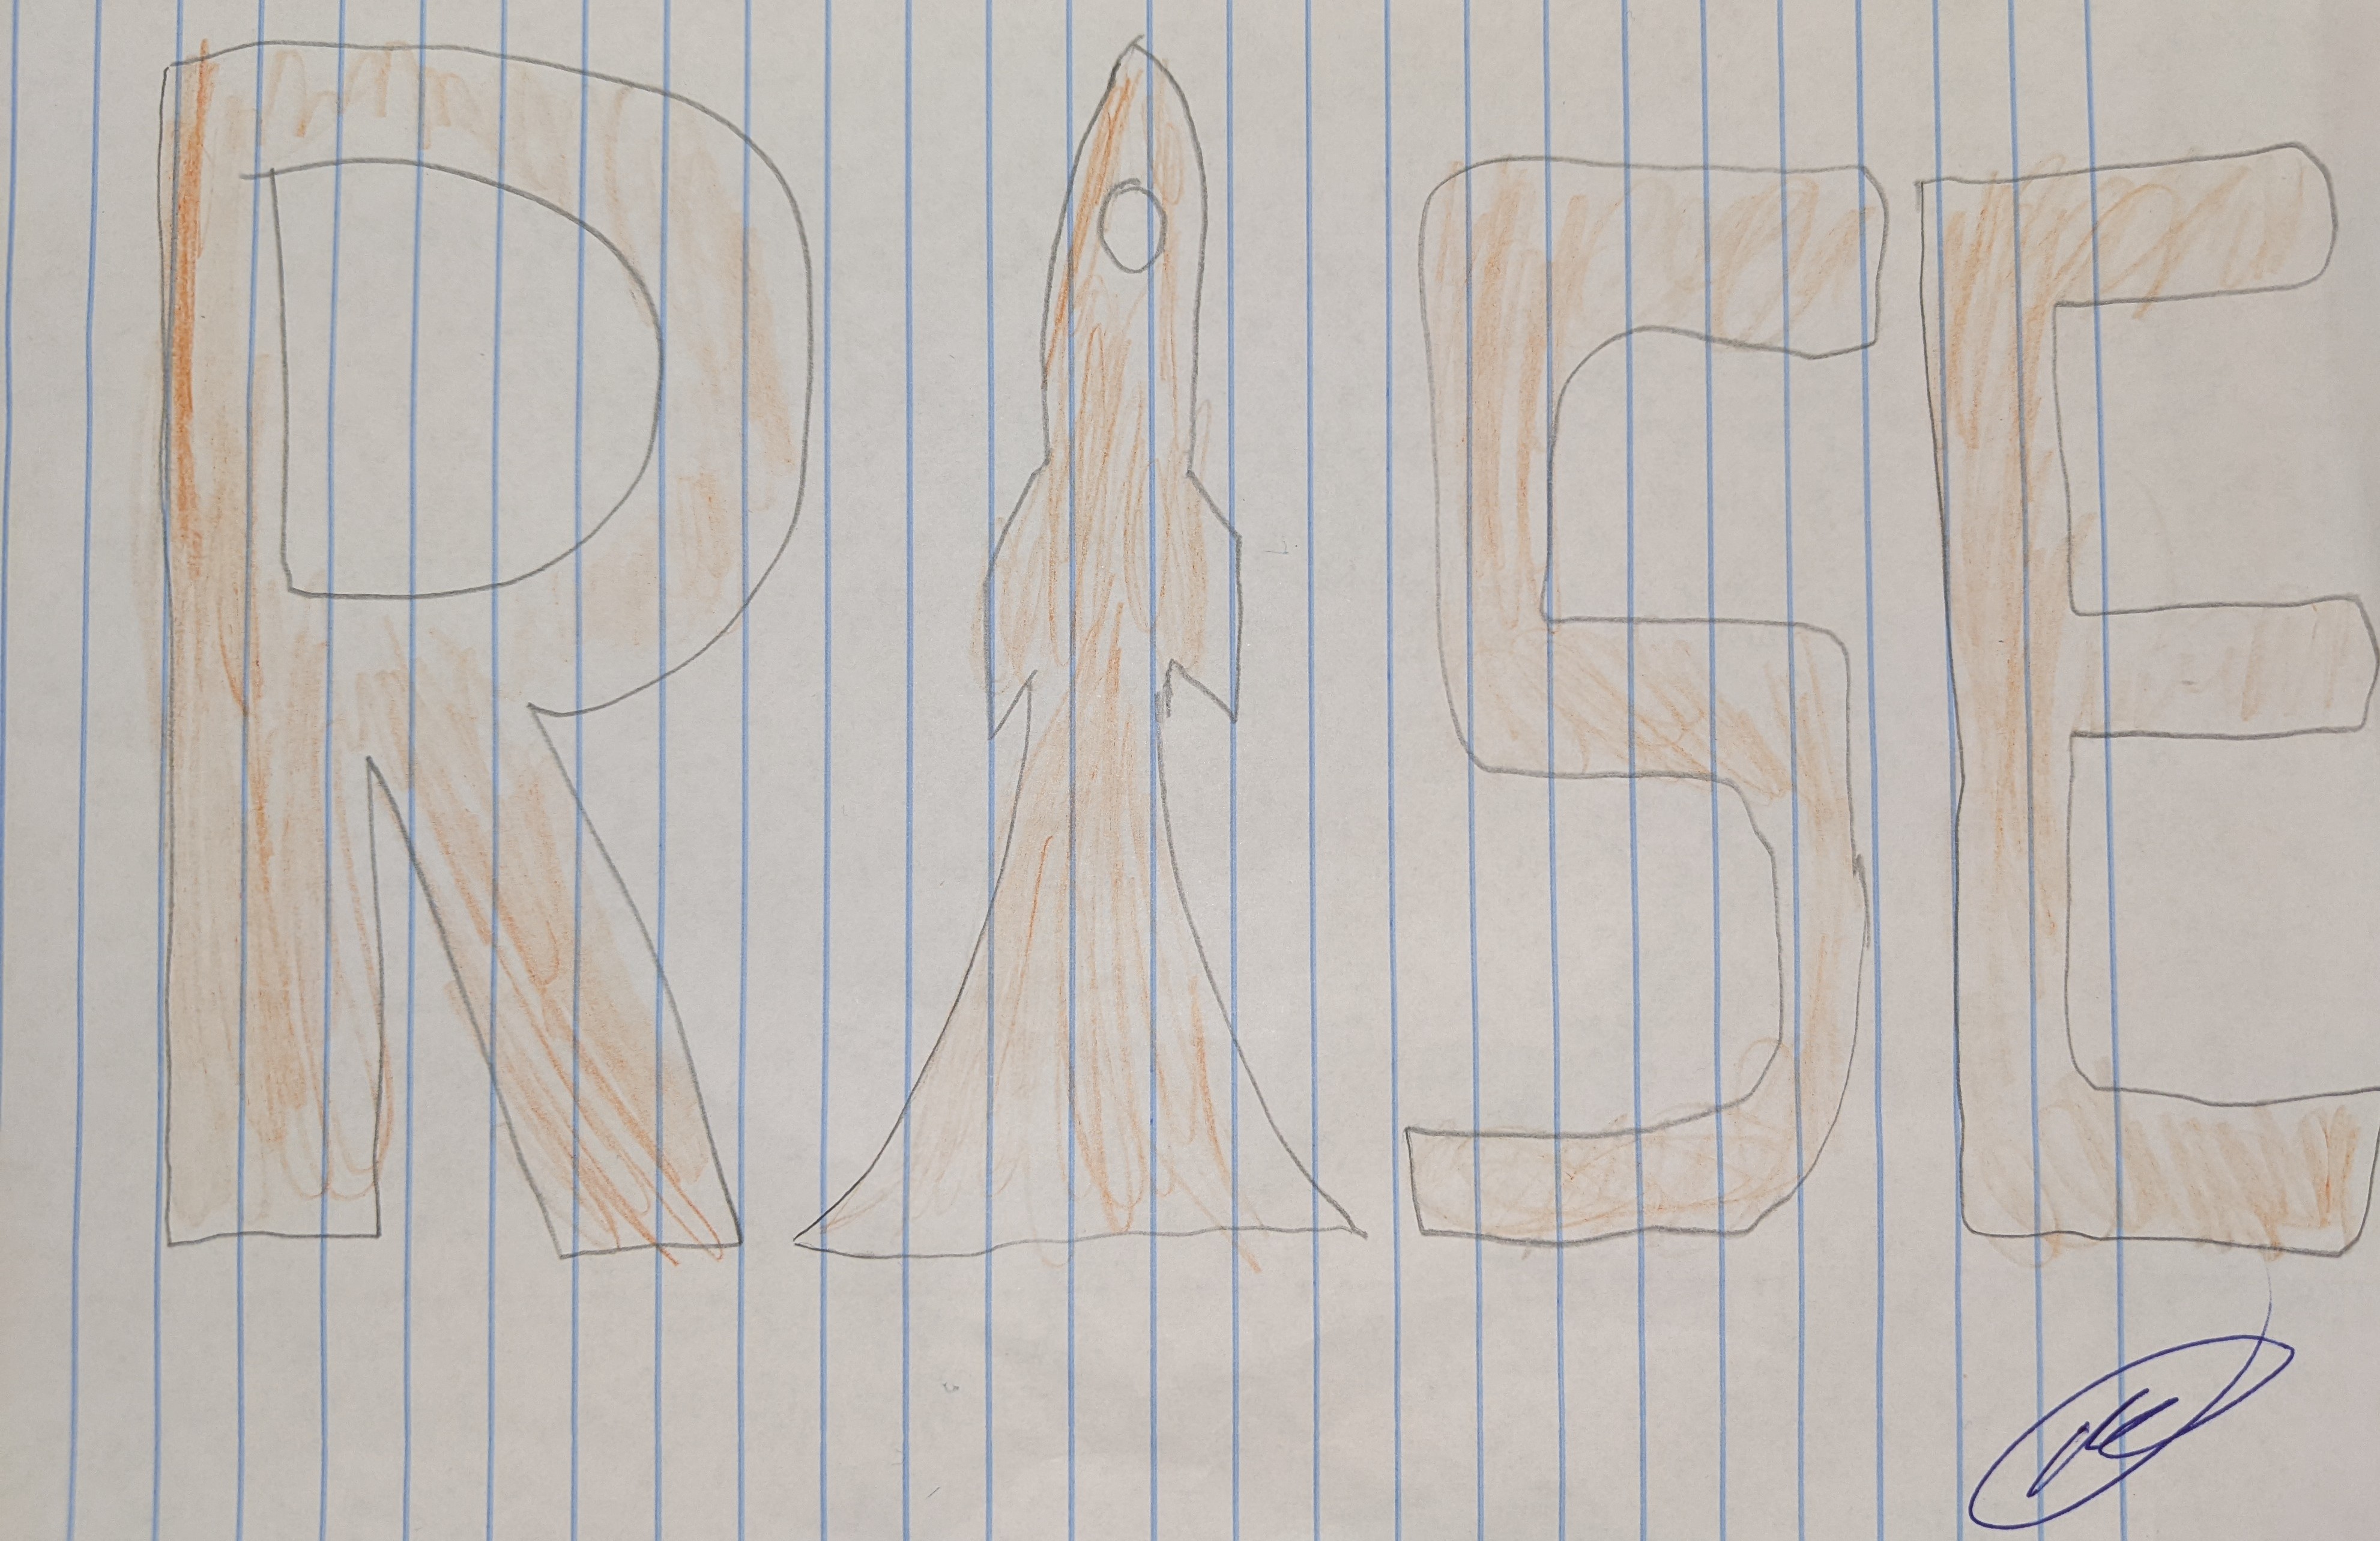
Intermediate
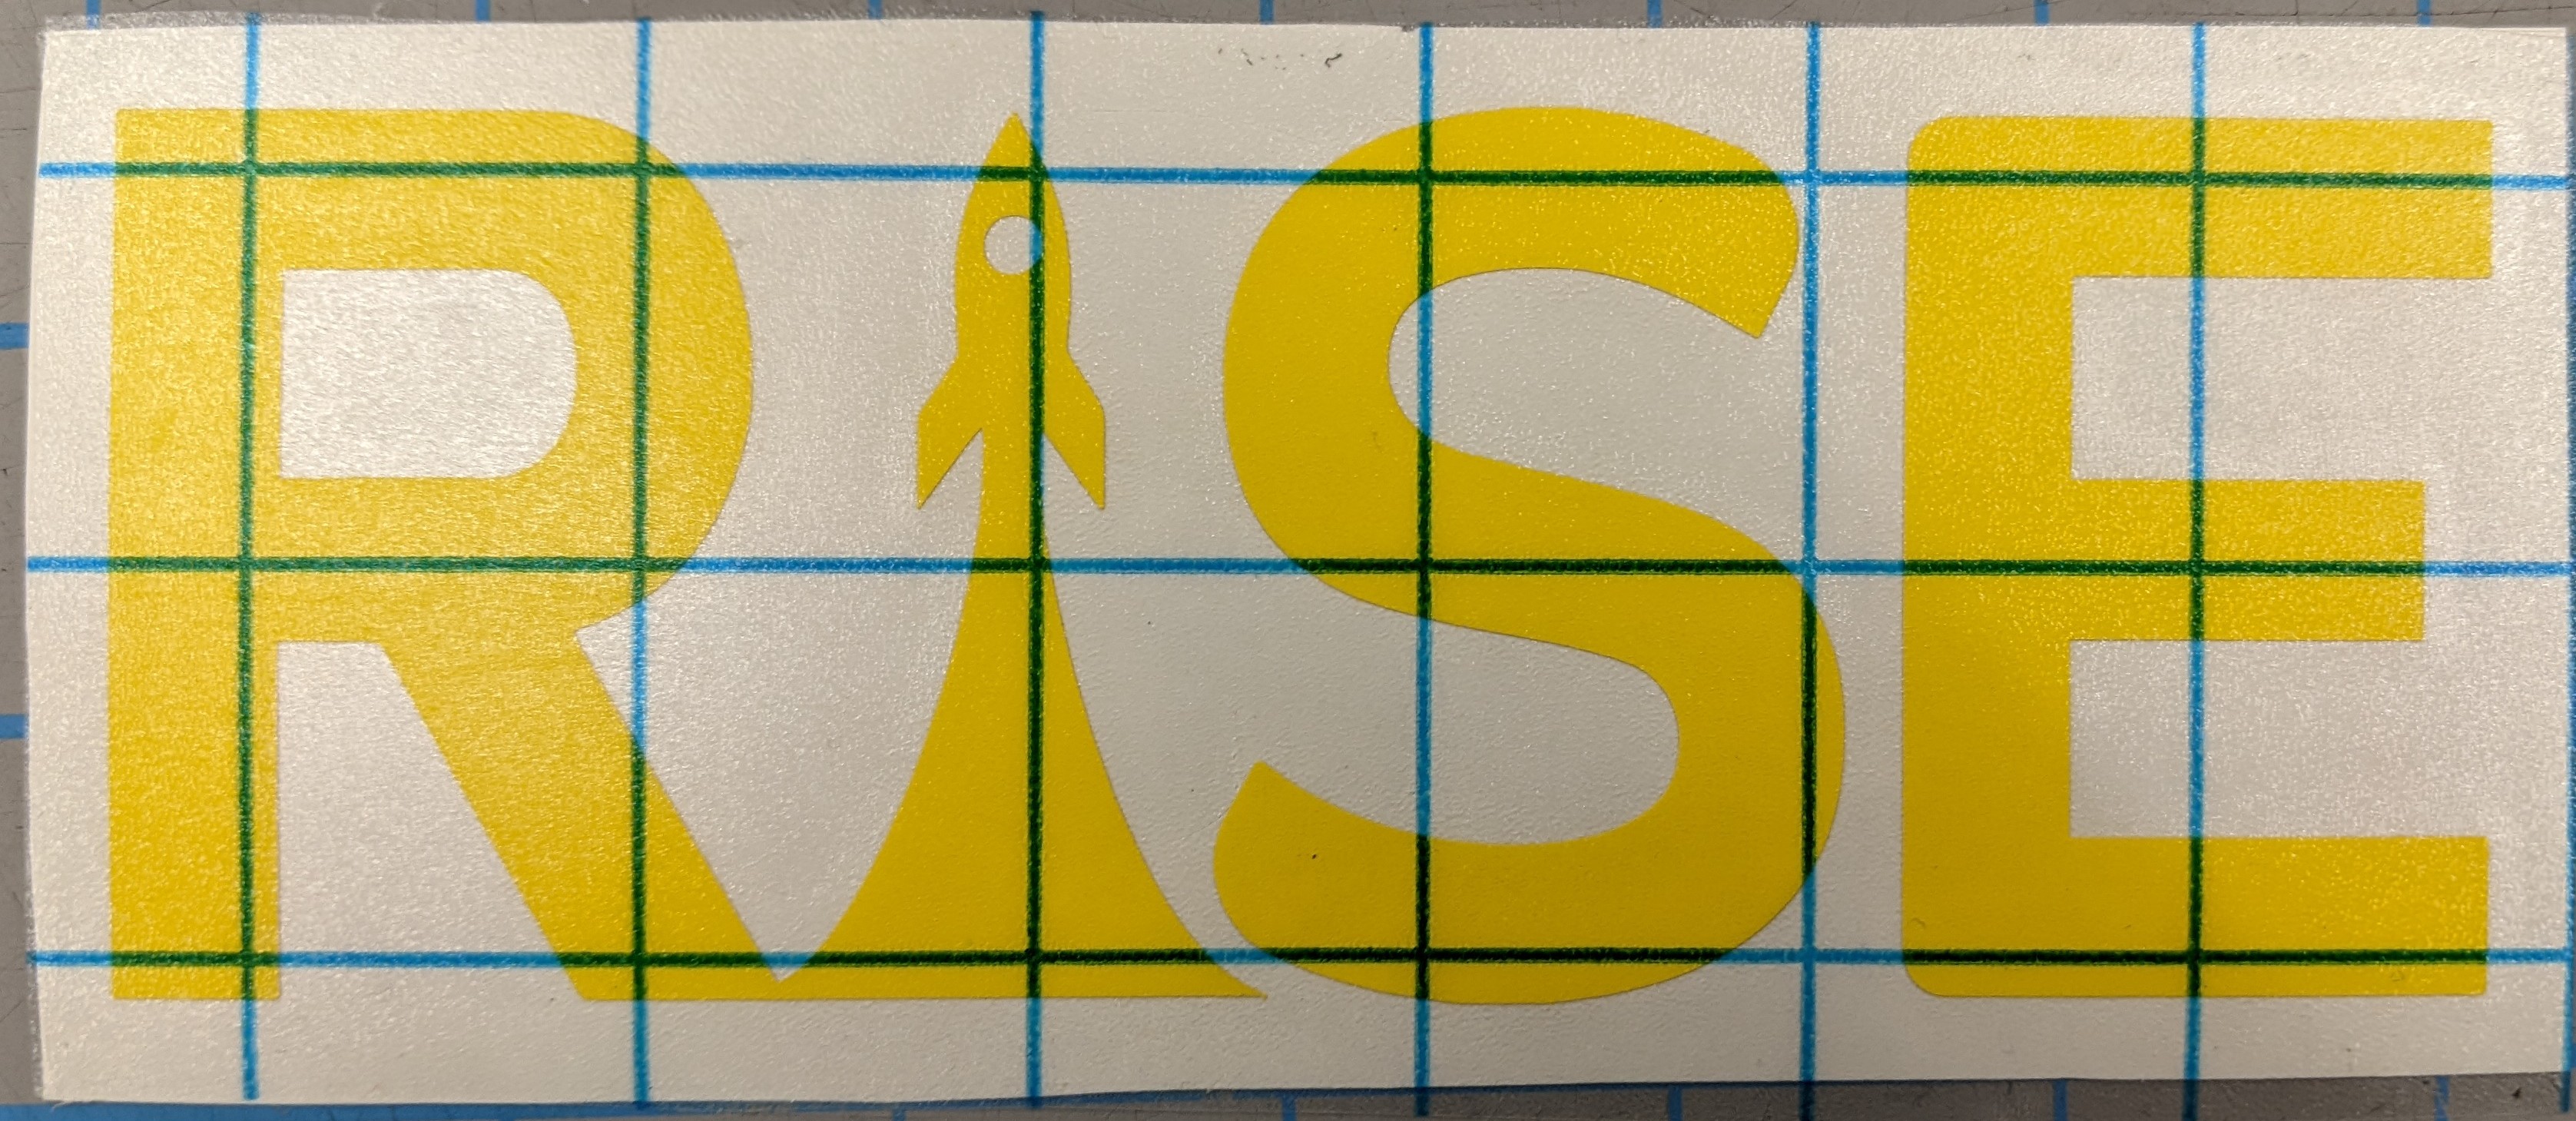
Final

Illustrator
Journal
The process for designing this simple sticker actually turned out to be pretty complicated. First, I had to do brainstorm sketching. I originally conceived of a variety of logos, ranging from a diamond to a mushroom. I settled on three big ideas: a rocket, a diamond mine, and a logo for a church. These intermediate logos turned into one final logo: that of the rocket compelling you to "RISE!". When I had that finished idea, I modeled it in Illustrator (which was the easiest step in this process). For the vinyl cutter to work, the illustrator logo had to be monocolor, which actually simplified the whole process for me (less colors to worry about). The illustrator file was then exported into the Vinyl Master Cut Software, which controlled the vinyl cutter. After adjusting the vinyl cutter and pressing the (right) buttons with a bit of assistance from Mr. Sauve, the machine cut the design into the vinyl material in under a minute, all while making a loud, grating noise. Afterwards, I had to use an X-Acto blade, pick, and scissors to pick out the cut sticker from the rest of the remaining vinyl. I know that this step was hard for others, but since my design was pretty easy and was only composed of solid shapes, it wasn't that hard to isolate the sticker. Then I transfered the sticker to transfer tape and stuck the vinyl on the tape with the help of a squeegee. Finally, all I had to to was apply the transfer tape to the surface I want the sticker to be on.